CloudBerry ExplorerでGoogle Cloud Storageを簡単に操作する
以前、AWSのS3やGlacerをGUIで操作できるクライアントアプリ、CloudBerry Explorerを紹介しました。
GCPにも同等なオブジェクトストレージプロダクトのCloud Strageがあります。
こちらに対応した「CloudBerry Explorer for Google Storage」を紹介します。


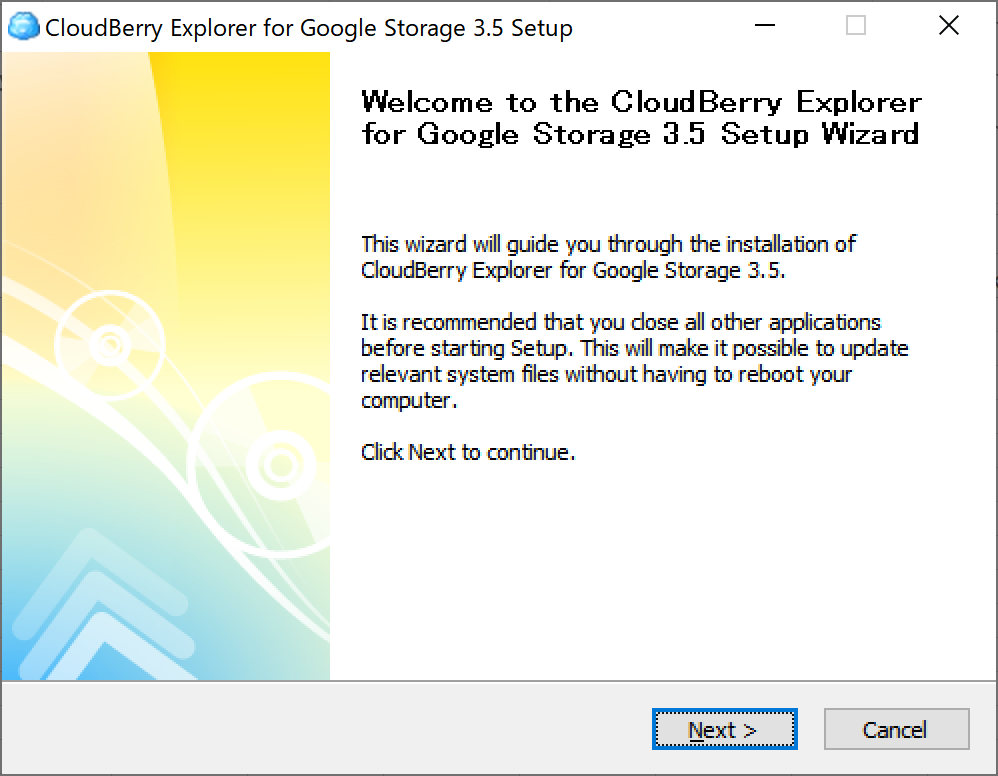
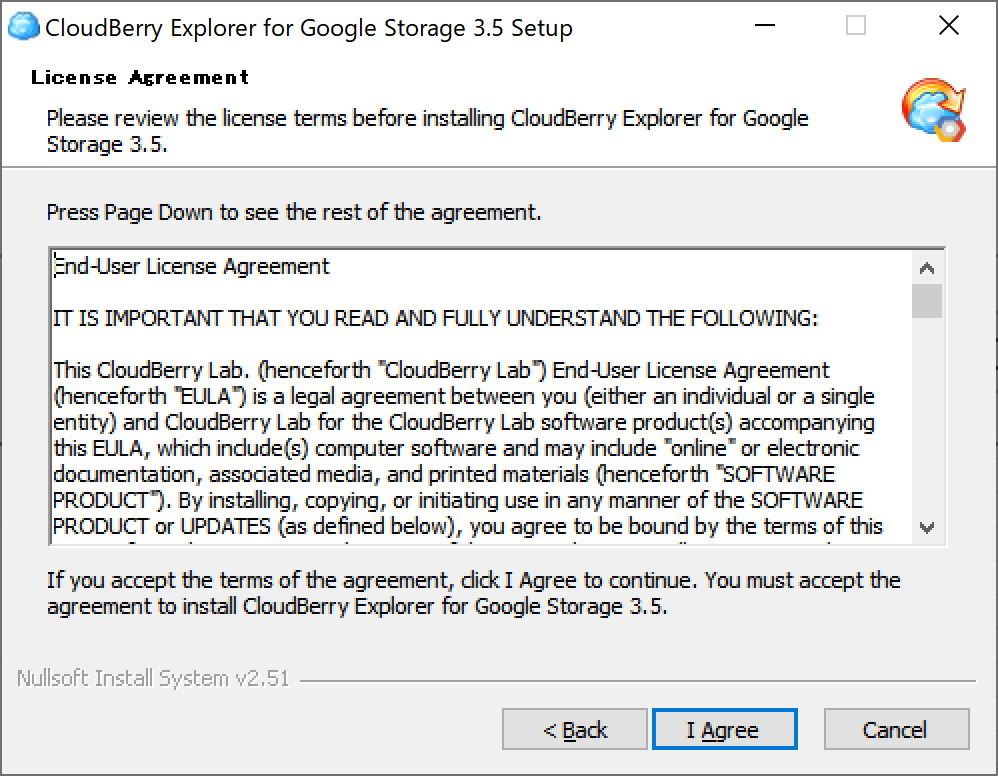
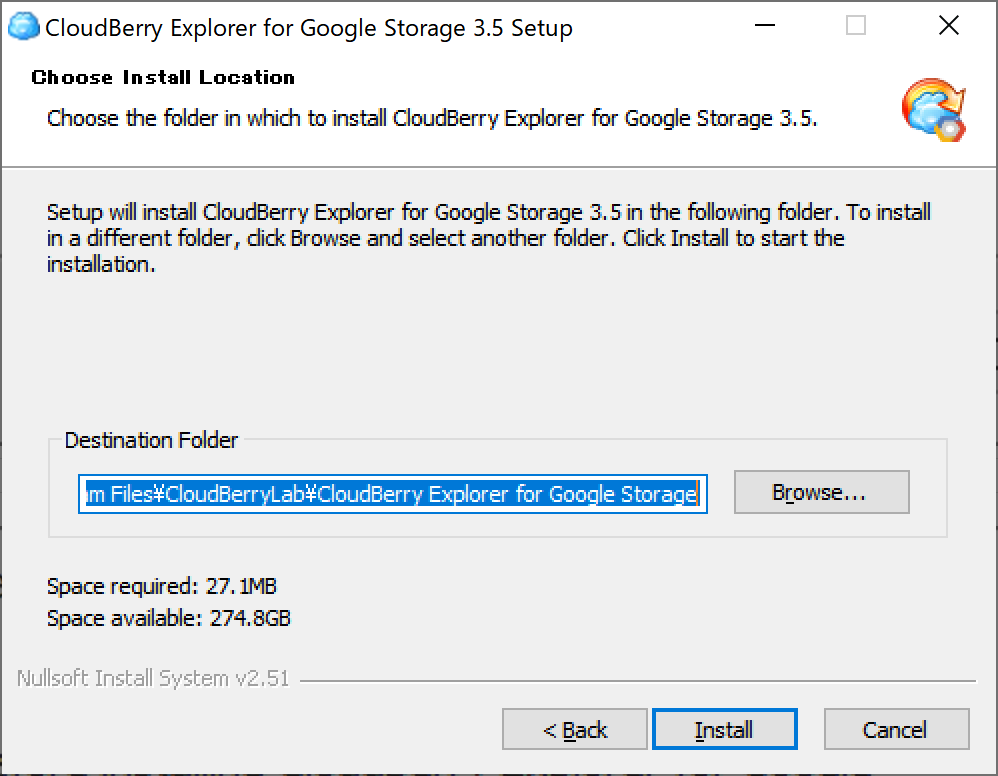
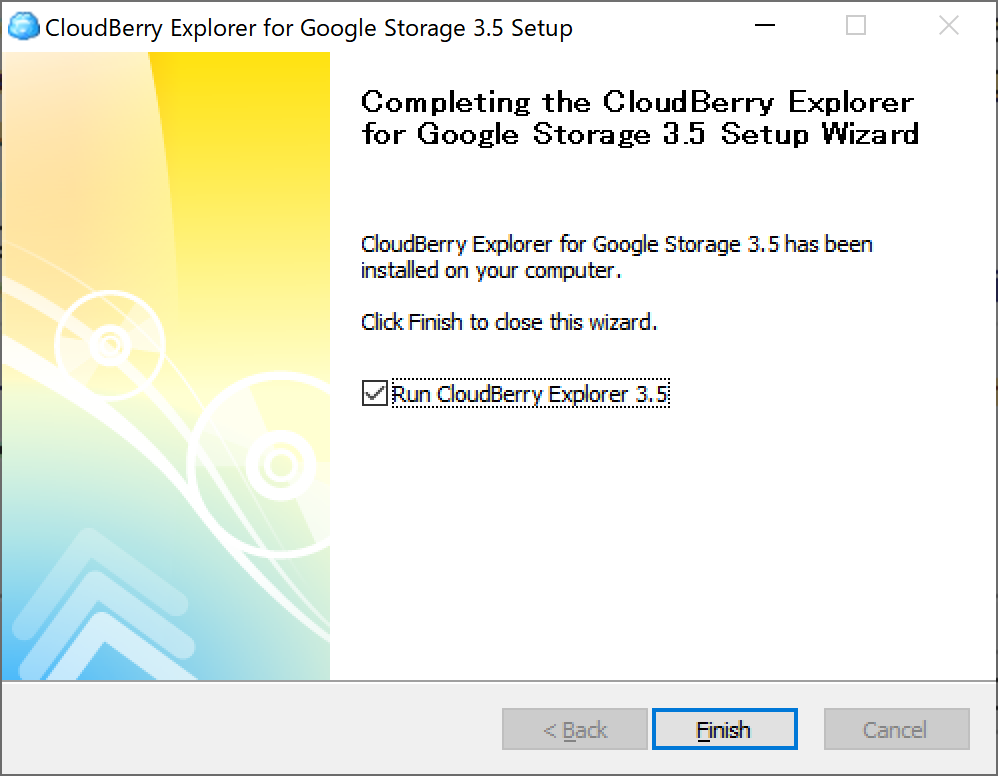
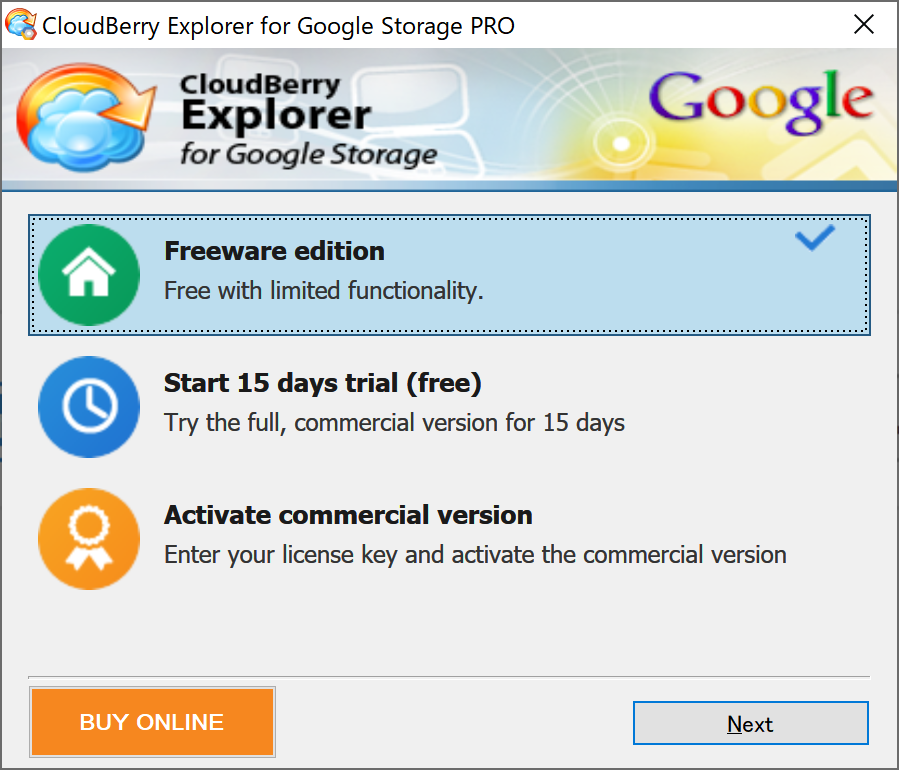
インストーラーをダウンロードしたら、起動してデフォルトの設定で進めていきます。
起動したら「tools」タブから「language」を選んで日本語にしておきましょう。

ここでは「OAuth 2.0 (installed Application)」を使います。
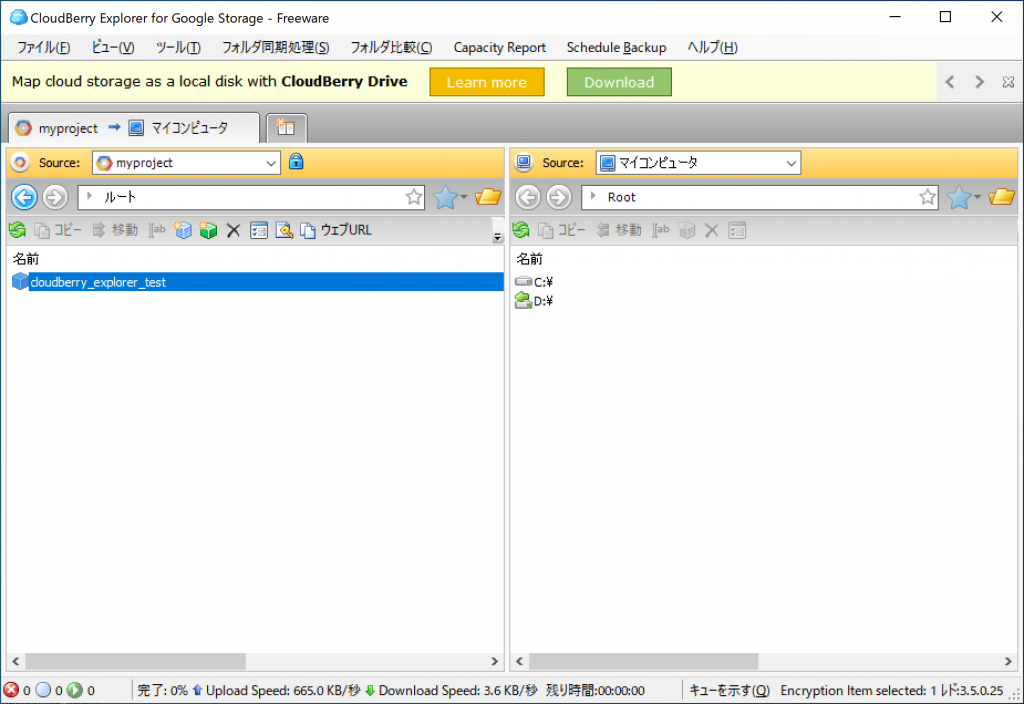
認証が通ればプロジェクトに接続でき、バケットの一覧が表示できます。
その他基本的な操作方法はAWS版のCloudBerry Explorerとさほど変わりません。
同一アプリでアカウントを切り替えながら、S3もCloud Storageも両方操作できたらなお良かったですが。

GCPにも同等なオブジェクトストレージプロダクトのCloud Strageがあります。
こちらに対応した「CloudBerry Explorer for Google Storage」を紹介します。
インストール
公式サイトからインストーラーをダウンロードします。
インストーラーをダウンロードしたら、起動してデフォルトの設定で進めていきます。
起動したら「tools」タブから「language」を選んで日本語にしておきましょう。
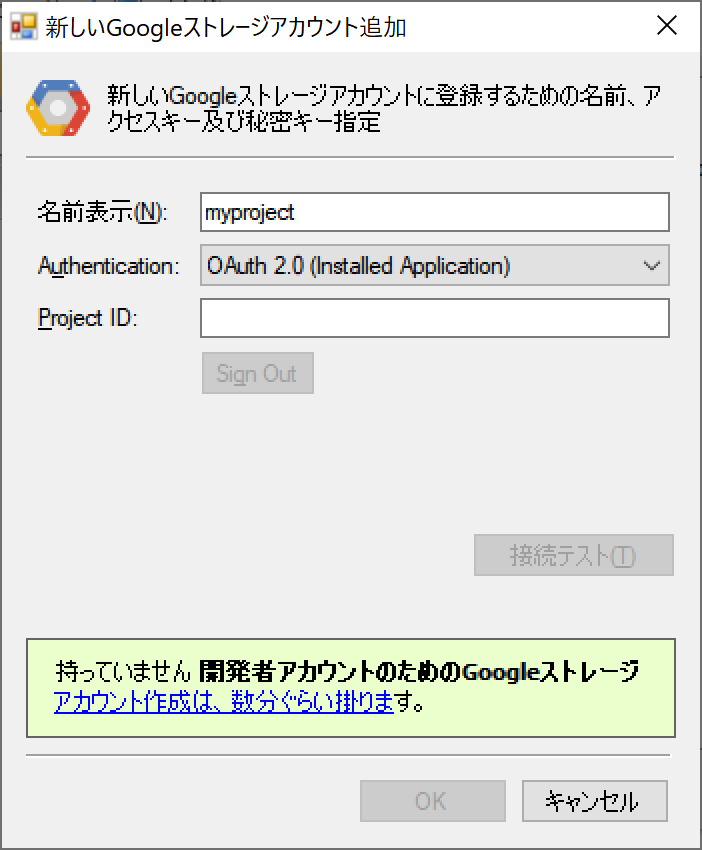
GCPプロジェクトに接続
GCPプロジェクトに接続します。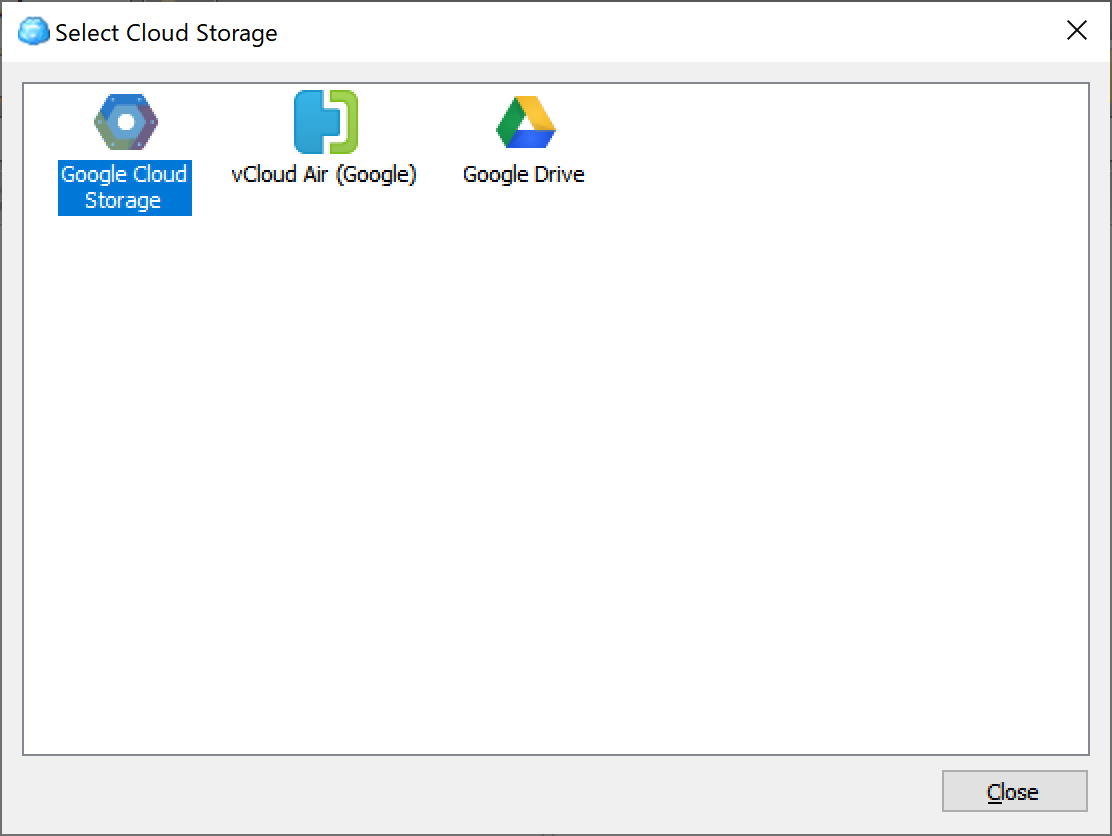
ここでは「OAuth 2.0 (installed Application)」を使います。
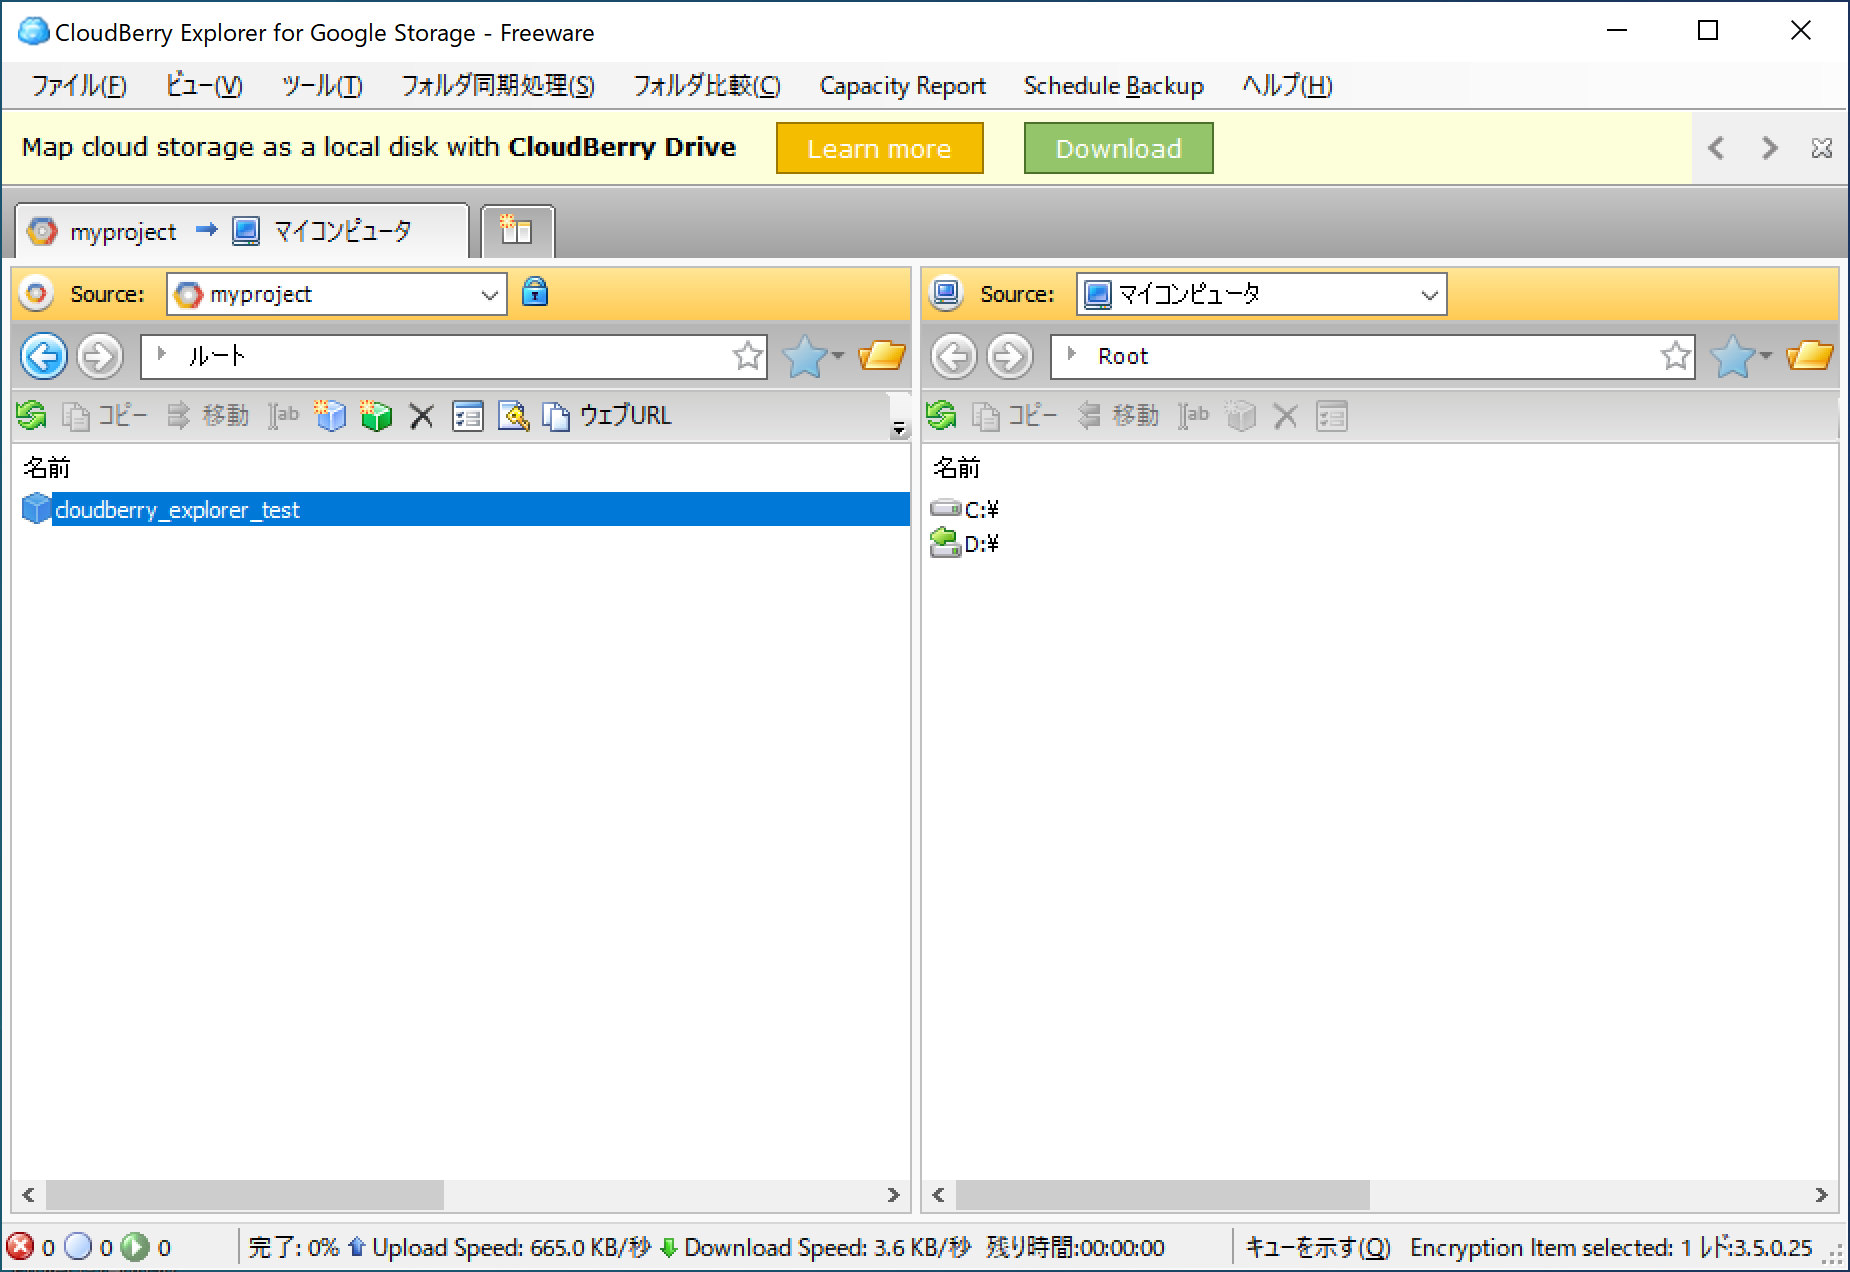
認証が通ればプロジェクトに接続でき、バケットの一覧が表示できます。
その他基本的な操作方法はAWS版のCloudBerry Explorerとさほど変わりません。
同一アプリでアカウントを切り替えながら、S3もCloud Storageも両方操作できたらなお良かったですが。